Hello! I am so excited to have a new blog post before the beginning of the school year. I have been working very hard with my co-teacher to create a simple and easy classroom set-up as well as routines and procedures to begin the year with a solid plan. We are both special education teachers and will have 13 students between the two of us and 2 instructional assistants each, making 6 adults and 13 students. We teach kindergarten. We agreed that since we have involved students with many needs, small groups would be the best to spend a majority of the day. We are fortunate that we can be flexible because we have 6 adults! We know the benefits of inclusion as well as whole group, so we have incorporated a lot of that in our planning and want to tweak as the year goes by after we get to know our students.
To accomplish the small groups, we have broken our classroom into 5 sections, or tables. These are based on a color (red, orange, yellow, green and blue). Each table also has a food associated with it (apples, peaches, bananas, grapes and blueberries). The food groups are called the "Home Base" groups which do not change throughout the year. One adult (and one table sharing an adult due to instructional assistant break schedules) will be assigned a food group and 2-3 students will as well. These groups will be at the appropriate colored table for their food for the entire year for "hello groups" (breakfast groups), science/social studies, and "goodbye groups" (snack/dismissal) (We call them hello and goodbye because some students don't eat regular food and have different feeding times so we will plan a hello or goodbye activity for them to participate in, instead of waiting around for peers to finish eating). Then, the colored tables will also be centers. Each table has 2 AM centers (reading/writing) and 1 PM center (math). Adults rotate the centers weekly (for example, if I was the red table one week, the following week I would be the orange table, seeing 2-3 kids Monday, 2-3 different kids Tuesday, 2-3 different kids Weds, 2-3 different kids Thursday and 2-3 different kids Friday-eventually seeing each student 1x/week assuming they are not absent any days). The two teachers (myself and my co-teacher) are always green and blue for everything (each day, each center) for simplicity sake, so instructional assistants rotate between red, orange and yellow. The students in each group change daily (stay at the same table in the AM and same in the PM for transition sake and then rotate to another color the following day). Whatever adult is at a table for the week they complete one activity 5 times with eventually all of the students. So, my co-teacher and I basically plan a red AM and PM center, an orange AM and PM center, and a yellow AM and PM center for the week and the kids rotate through. Less planning, all the students get to all of the material, you aren't running around a whole group making sure everyone completed everything, therapy pull-outs, etc.
It is helpful that my co-teacher and I are always green and blue and our time is "flexible" to allow for IEP data, assessments, possibly inclusion in typical kindergarten, etc). It may seem confusing but I have included a lot of pictures to help make it understood.
Welcome to our classrooms!
Here is the door where I will post bus numbers for both classrooms (because we will be in our "Home Base" food groups for snack/dismissal, students from both classrooms will be exiting down to the bus)
To the area directly to the right of the door I have created a "calm down corner" for students who are having trouble during the day. There is a small desk and a cart filled with individual work tasks (a lot of fine motor). I believe that students may need a break when experiencing behavioral issues but I also don't want that time to be too reinforcing (which is why I have the individual work tasks for them to complete). Still doing work, but able to talk it out, get a reminder of the expectations, learn how to try again, and regain their composure. The location also helps with students who enjoy flipping on and off the light switch :-)
To the right of the "calm down corner" is my SMARTboard area and you can also see the classroom library. I made a hula-hoop shower curtain reading area with a mirror and bean bags.


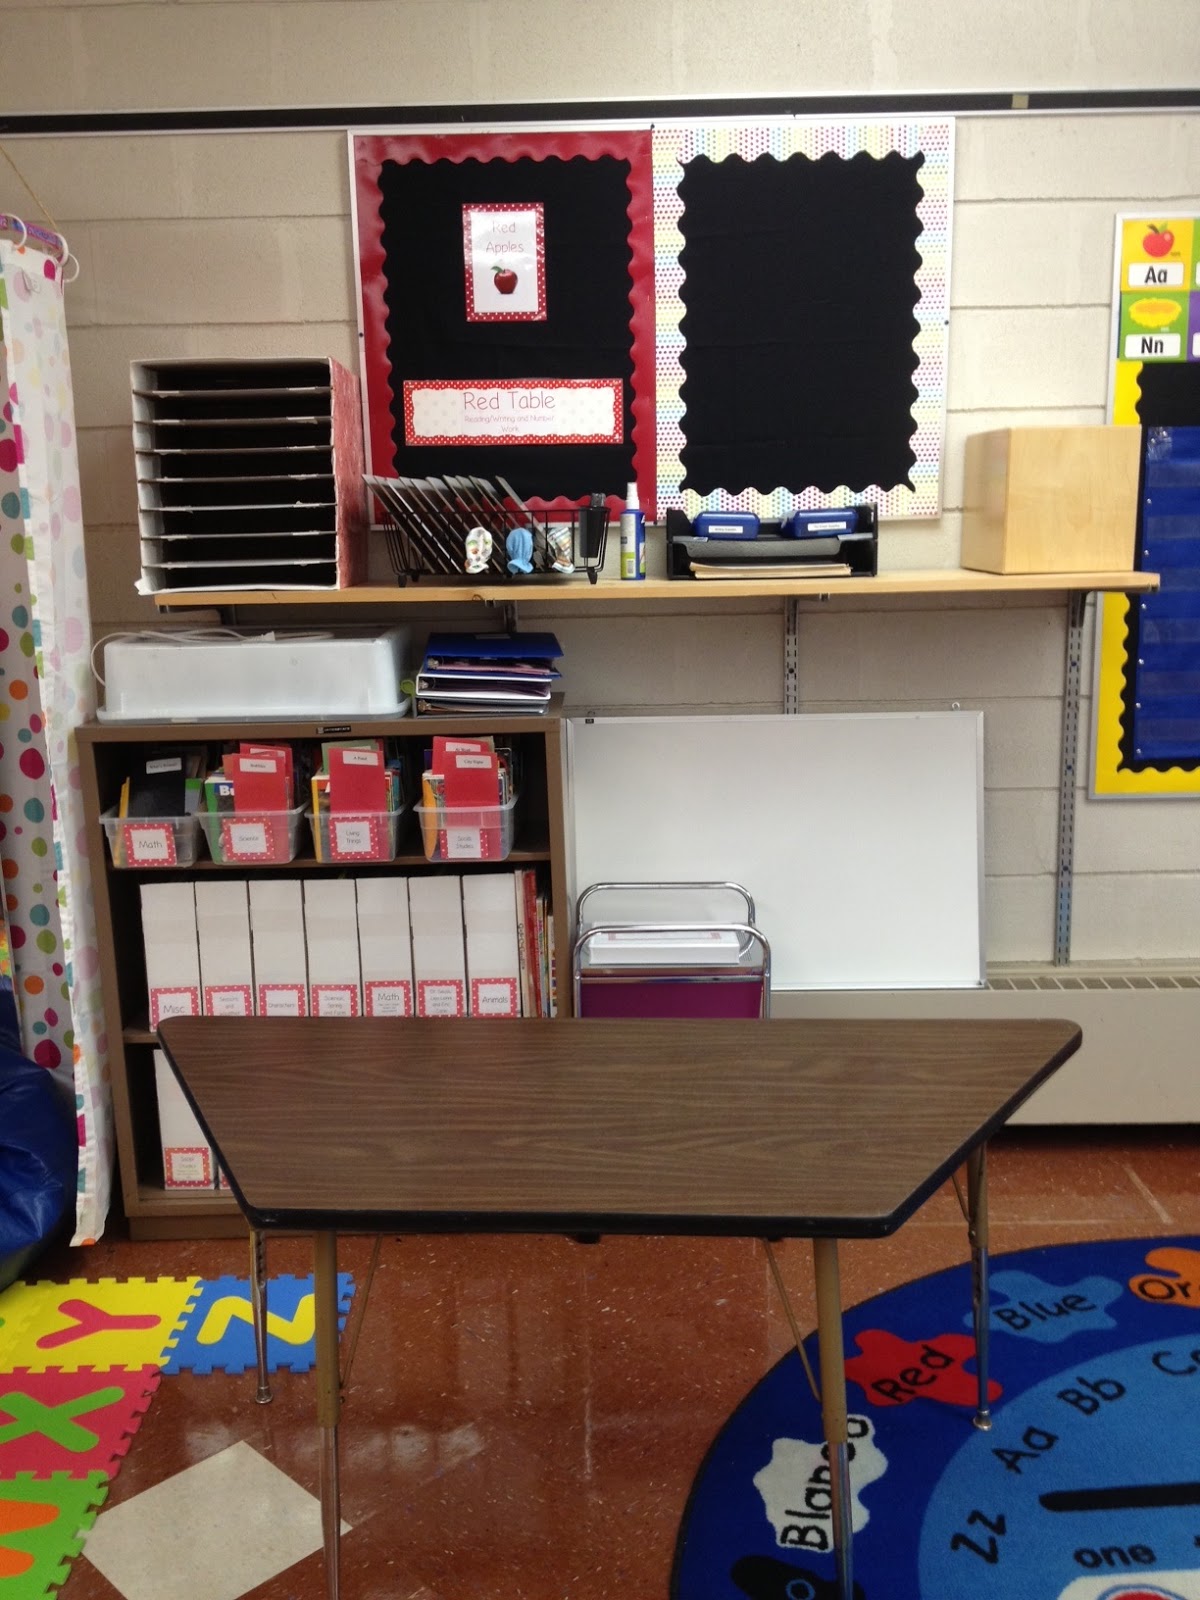
Right by the classroom library is our first center table! Home to the red apple table! As you can see, each table has a binder that clearly labels what the 2 AM center topics are and what the PM topic is. Each table also has a cart or drawers of some type, one drawer housing the feeding equipment (for the red apples hello and goodbye groups), one drawer housing AM center materials and one drawer housing PM center materials. The binder includes IEP goals for the topics for each student as well as alternate activities to do when plan A just doesn't seem to be working, which never happens ;-). All of the materials are kept by that center. For example, with this center, we made it close to the SMARTboard for writing work, close to the big dry erase and small dry erase boards, writing materials are right there on the shelf above, reading books/reading nook, etc. Oh, and number work has SMARTboard activities too!

To the right of the red table is my group center time. I am the group teacher for reading and my co-teacher is the group teacher for math. We will start off the day in her group area doing math tasks (calendar, who is here today, daily schedule, weather, number of the week, etc), then break into AM reading centers, go to my room for group reading (letter of the week, word of the week, alphabet, story of the week, etc), then go into AM writing centers, lunch/recess/specials, quiet sensory time, PM math centers, sci/social studies whole group (rotating between my co-teacher and I Mon-Thursday) then complete the task in small home base groups, then goodbye groups and home. On Friday instead of sci/social studies we do an inclusion activity with typical kindergarten and for the first couple months, a color parade around the school for the color of the week.
As you can see, since I am the reading group teacher, I have just reading things in my group circle. I have the alphabet, a pocket chart for letter of the week vocab, letter of the week, color of the week, word of the week, classroom rules. My big books are organized to the right with story props underneath and circle time supplies in the rolly cart. There is also an easel for stories and felt.


To the right of that is my exposed shelving, all cleaned up and organized with new labels! I wanted all the same bins so they stacked the same and all the same labels for easy access. The adults are the only ones grabbing these bins so they are just in writing and no pictures. The picture labels I did last year seemed cluttered and not very useful. It took just as long to look in the clear view so the labels weren't helpful. These are bigger and easier to read from a distance. I also put all the craft supplies to the left, math in the middle and reading to the right. On the top I have my fall, winter and spring/summer bins. Other storage too (fridge, swing, etc).

This is another angle next to the puzzles where the big toys are kept.

To the right of that is dramatic play. Even that is organized!
To the right of that is the green table-my table! Instead of binders we have bulletin boards. You can see mine hanging. I also have the expectations hanging on a ring (the same for the classroom and all centers-4 simple rules) and a magnetic timer for data. We will have IEP binders for each students with data sheets in them so blue and green tables will use those.
Here is a close up-I made the clipboards with printed duck tape.
The back of our clipboards and the back of the binders have the same behavior chart on them for the use in small group time. We made it simple because each kids consequence and reward is so different. All of the students velcro names are located at the center so once you begin your center you can say hello, find names, put them on the group names section, review rules and behavior plan, etc.


On both of the barn doors (left open because we are using both rooms this year) to the right of my green table are a space saver pocket chart from Lakeshore (love the size-it was perfect for my things!) I have our color of the week, our theme of the week and a place to post my essential questions based on common core extended standards. We have already gone through and made a theme and book for each week and the colors go for a couple months then we are toying with the idea of doing shapes of the week. On the other door is a home base chart. Remember, these do not change throughout the year so they are just posted here.
To the right of that is my student computer station. We are supposed to get new computers before school starts-keeping my fingers crossed! I have everything out, intellikeys, EZ keys, speakers, etc.
To the right of that, behind my teacher desk is the orange table. This table is reading center letter work, then writing center typing and then math center counting. So, my classroom has the red table, green table and orange table. The yellow table and blue table are in my co-teacher's classroom which is semi-open to my room with the barn doors.
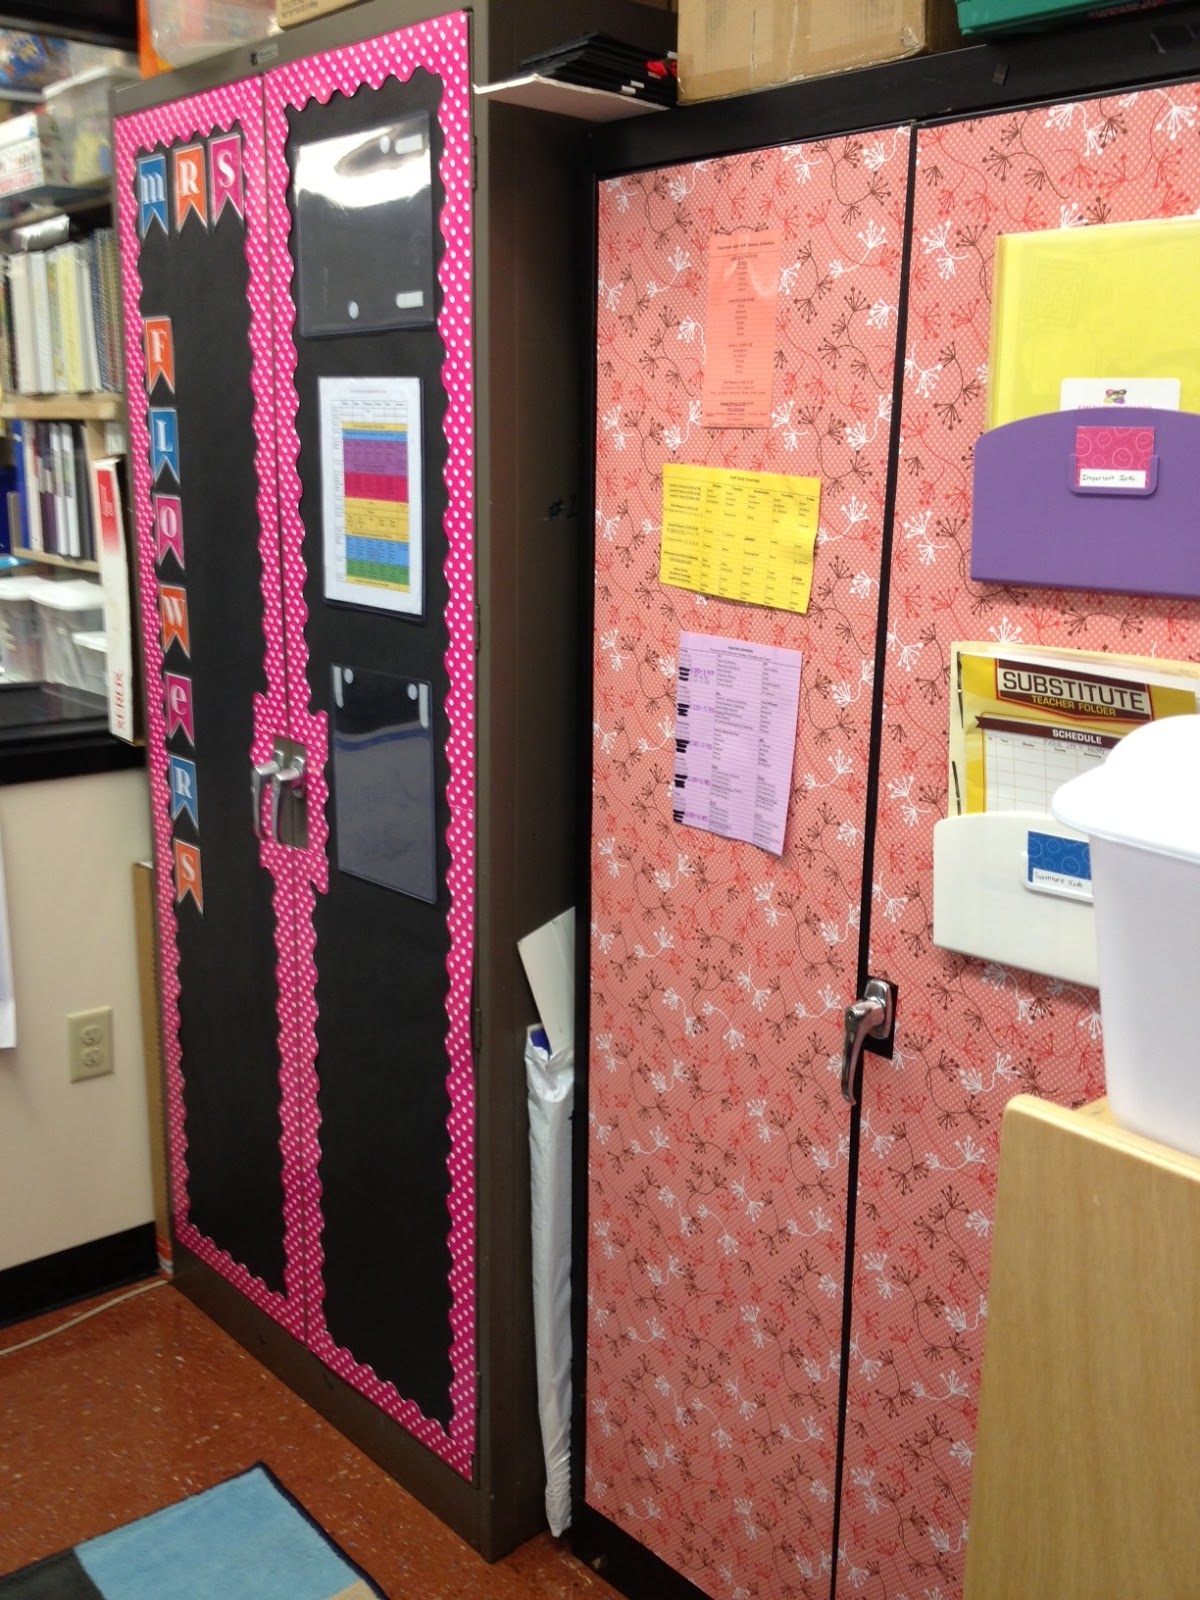
Here is my teacher area. It has a semi-private entrance off the cubby area so students won't be tempted to come inside. Two big filing cabinets line the inside (I should have taken pictures of how I organized them! next post...) and they have different schedules and information posted on the outside. I have my monthly lesson plans by the printer.
Then, here is the cubby and sink area next to the door. Now you have seen the entire classroom!
Here is my co-teachers classroom. She hasn't set up everything yet but she has an amazing group area space for math group time in the morning! That chart you see in the background is our daily and weekly center rotation (see close up below)
She doesn't have her blue table set up yet but here is her clipboard.
Here is the yellow table. This table is my favorite because it is listening and sensory. My co-teacher has the most excellent sensory tools, light boxes, visual stimulation, switches, etc. etc. etc.

Here is our center rotation board. The clothespins are students names that rotate daily. The colored boxes refer to the colored table. The top half is AM, the bottom half is PM. Once we figure out which IA is where, we will fill in with velcro names the red, orange and yellow and rotate those weekly. We are also going to add break times to this as well.
I hope you enjoyed my classroom tour! I have been so excited to post this. Please let me know if you have any questions and please comment! I love comments :-)
Here's to an excellent school year and best of luck to my fellow teachers!