I went to Donatos and they were very nice to me and graciously donated 16 pizza boxes to make two drying racks with 8 slots each. Thank you Donatos!

You have to cut the entire front off. I expected it to be just a flap and be super easy, but Donatos boxes are folded and tucked into flaps so it took a bit longer and I had to be careful. I saw on Pinterest they used Little Caesars? Maybe their boxes only have the flaps.

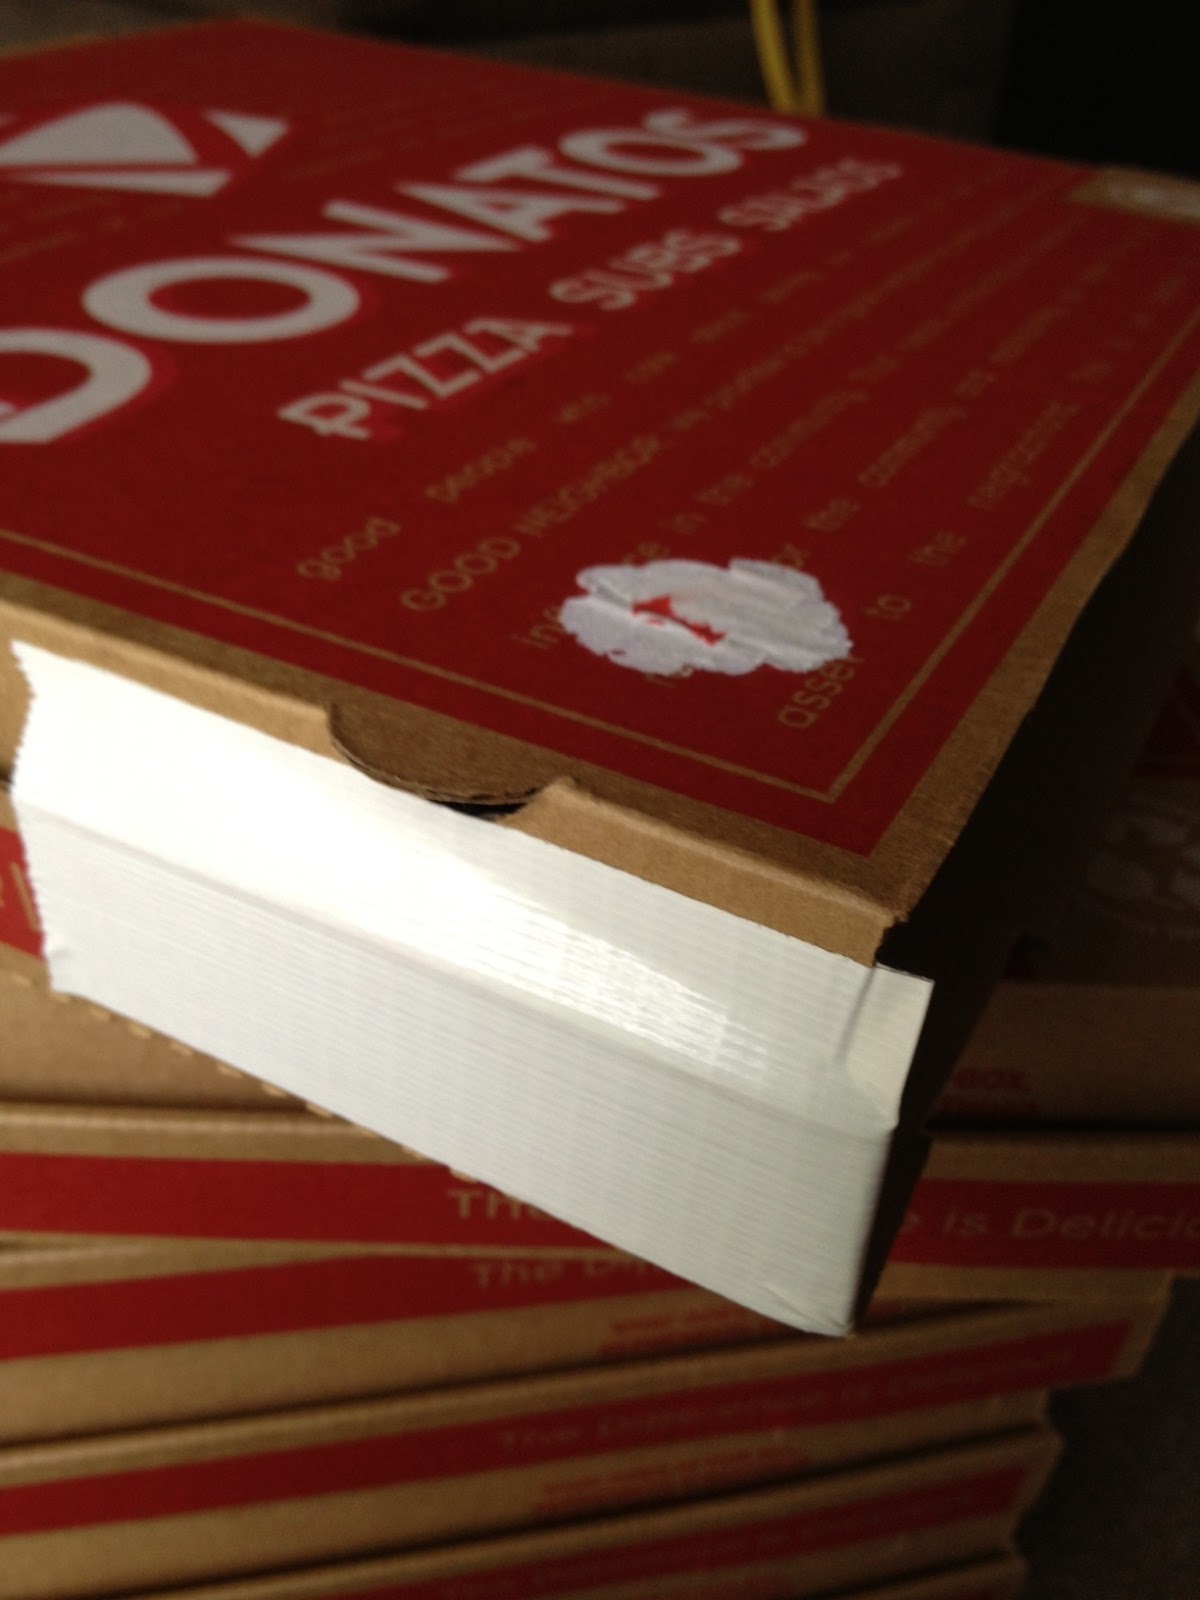
Then I tape the sides using duck tape. Once you take off the front flap, there is nothing holding those front sides together.
Here is how they looked once I completed that on all 8 boxes.

I tape them using clear packaging tape. I tried to make it as smooth as possible but it was hard. I started by taping them two at a time, then stacking them and taping the pairs, but my husband did the second one and I think he just taped them in one big loop.

I added duck tape and extra support from those cut off front flaps on the top and the bottom.

I covered it in pretty contact paper you saw in a previous post! And, I sprayed the inside with a thin layer of white spray paint to lighten it up, but I wanted to make sure it wasn't thick and sticky inside.


The lighting isn't the best, but it turned out well!
